 Although slings are used in other injuries, they are often used when a person breaks or dislocates a bone, it is necessary to keep still the injured body part. Generally, slings are used to immobilize the bone to prevent further damage. But they can also be used as supplementary treatments such as fractured ribs.
Normally, a triangular bandage is the most effective sling. However, if a triangular bandage is not available in case of emergency, belts, ties, thick ropes and any material of the same likeness may be used. If no material is available, the injured arm may be placed inside the victim’s shirt or blouse to adequately support it. To safeguard the injury, a pin should be applied to the sleeve or any region in the chest.
There are three types of slings: arm sling, elevated sling and collar-and-cuff sling. The arm sling is used for injuries in the forearm, whereas the elevated sling is used for shoulder injuries, while the ‘collar-and-cuff’ or clove hitch is used for upper arm injuries or a support for fractured ribs. If the injury requires a splint, place the splint before applying the sling. It is necessary to check for circulation after the sling is applied. Feel for pulse at the wrist or squeeze a fingernail and observe for change of color in the nail bed. The purpose of the sling is to provide supplementary support while remaining comfortable for the victim. Do not force the arm in the “right position” if it is not comfortable for the victim.
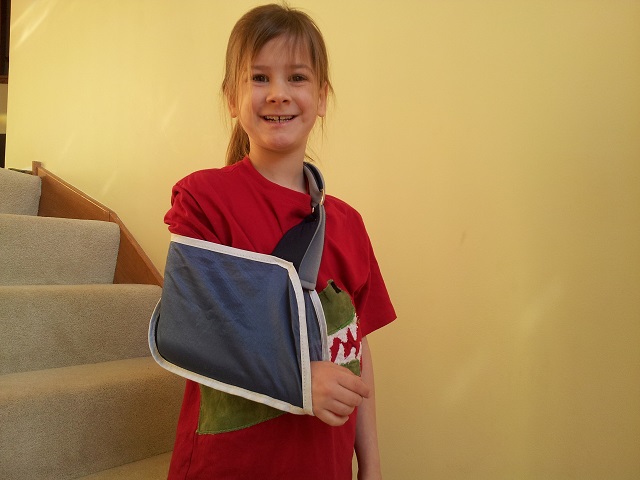
To create an arm sling, support injured forearm aligned to the floor with the wrist marginally higher than the elbow. Position the open triangular bandage in between the body and the arm, with the apex in the direction of the elbow. Spread-out the upper point of the bandage over the uninjured side’s shoulder. Carry the lower point up over the arm, through the injured side’s shoulder to join the upper point and tie thoroughly with a reef knot. To make sure that the elbow is safeguarded, fold the leftover bandage over the elbow and lock with a safety pin.
To make an elevated sling, first support the victim’s arm with the elbow adjacent to the body with the hand extended to the direction of the uninjured shoulder. Position the open triangular bandage over the forearm and hand with the apex in the direction of the elbow. Spread-out the upper point of the bandage over the uninjured shoulder. After tucking the bottom part of the bandage under the injured arm, bring it under the elbow and around the back. Reach the lower point up to meet the upper point at the shoulder. Tie thoroughly with a reef knot. To make sure that the elbow is safeguarded, fold the leftover bandage over the elbow and lock with a safety pin. Make sure that the sling is slipped under the arm to give a firm support.
Lastly, for a ‘collar-and-cuff’ sling, let the elbow hang naturally at the side and position the hand so that it is extended to the direction of shoulder on the uninjured side. Making use of a narrow
fold triangular bandage, make a clove hitch by making two loops, one going to your direction and one away from you. Place the loops together by sliding the hands beneath the loops and closing with a “clapping” gesture. If one is experienced at creating clove hitches, apply a clove hitch straight to the wrist while taking extra caution to not move the wounded area. Slide the clove hitch over the hand and slightly pull it to secure the wrist thoroughly. Spread-out the points of the bandage to whichever side of the neck. Thoroughly tie with a reef knot. Let the arm hang comfortably.
Although knowledge for making slings are only fairly common only in sports, medical assistance is definitely required in broken bones. The sooner first aid is performed on victims, the greater chances of minimizing damages. Through first aid courses and various workplace approved programs, the community may learn to provide victims assistance and sufficient medical knowledge needed to treat the victim.